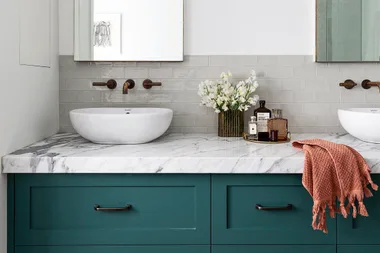
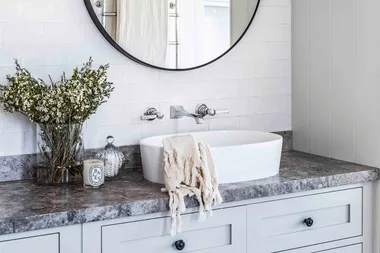
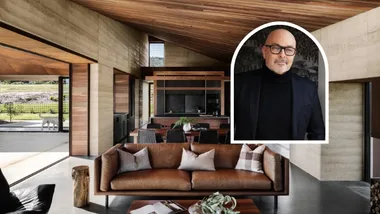
Photography: Mindi Cooke
Renovating your home is a big job, so getting it right the first time is important. Bathroom renovations can be particularly challenging as the fixtures and fittings are secured firmly in place early in the build and it can be costly to change things once they have been installed.
NEED TO KNOW
Bathroom renovation regrets are common
This is one room where function trumps form every time. No matter how luxe the layout or how elegant your new bathtub is, plumbing and drainage diagrams need careful measurement and consideration from the outset. Ultimately the goal is to ensure your choices in tapware and accessories bring character and comfort and the best-prepared renovators will have designs settled upon and items sourced and at the ready for when tradespeople reach for them.
Some renovators learn this the hard way. To avoid bathroom renovating pitfalls, industry experts have shared their tips and tricks.
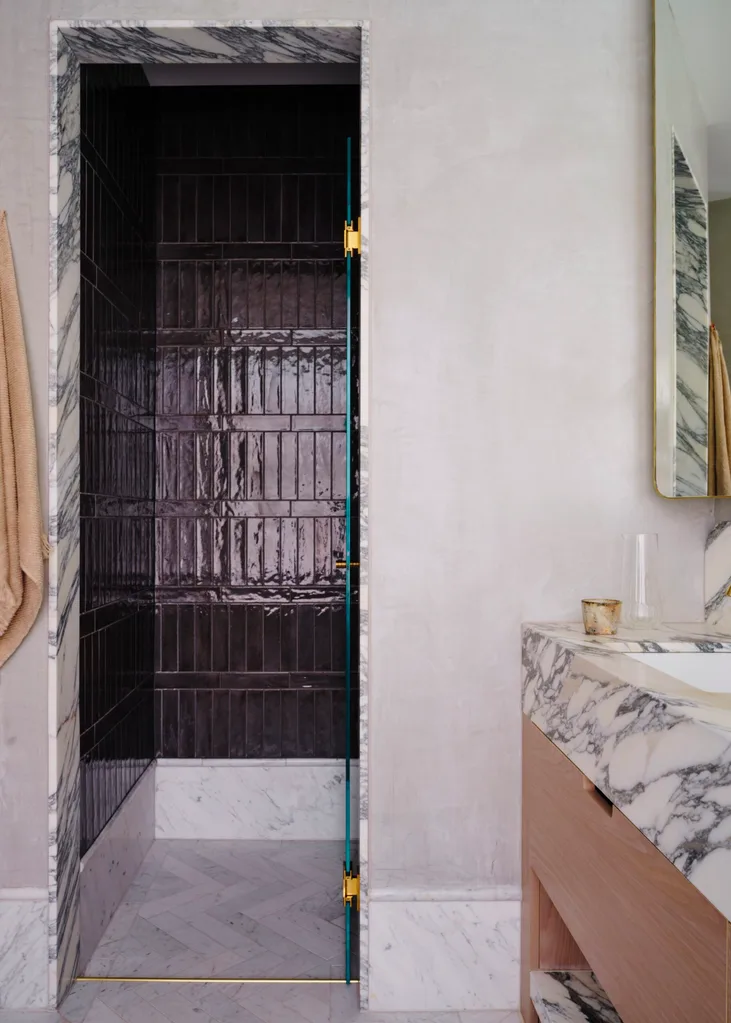
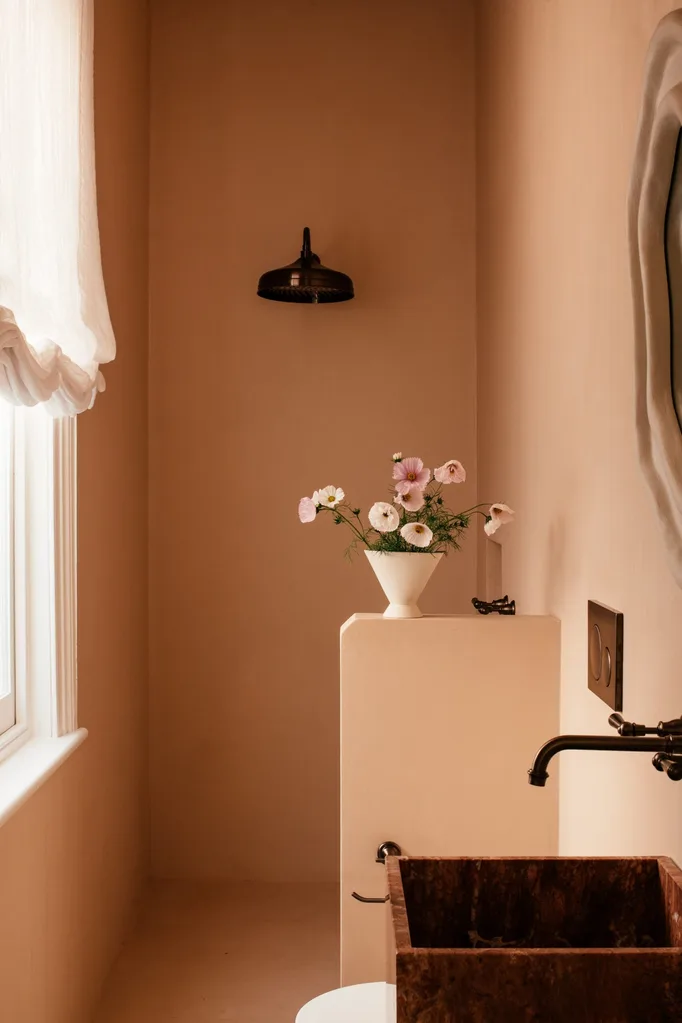
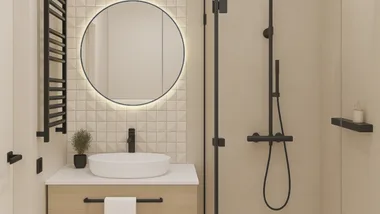
Shower screens & open shower zones
Enclosure-free shower zones feel spacious, are easily accessed and simple to clean (less walls, etc). However, size matters. We spoke to Alexandra Devine, marketing lead at Reece Bathrooms, to help decide.
“Open shower zones are generally not ideal in very small bathrooms, where splashing into the main space is almost unavoidable.”
ALEXANDRA DEVINE, REECE BATHROOMS MARKETING LEAD
They’re also unsuitable where electrical elements, such as heated towel rails, are positioned close to the wet area.
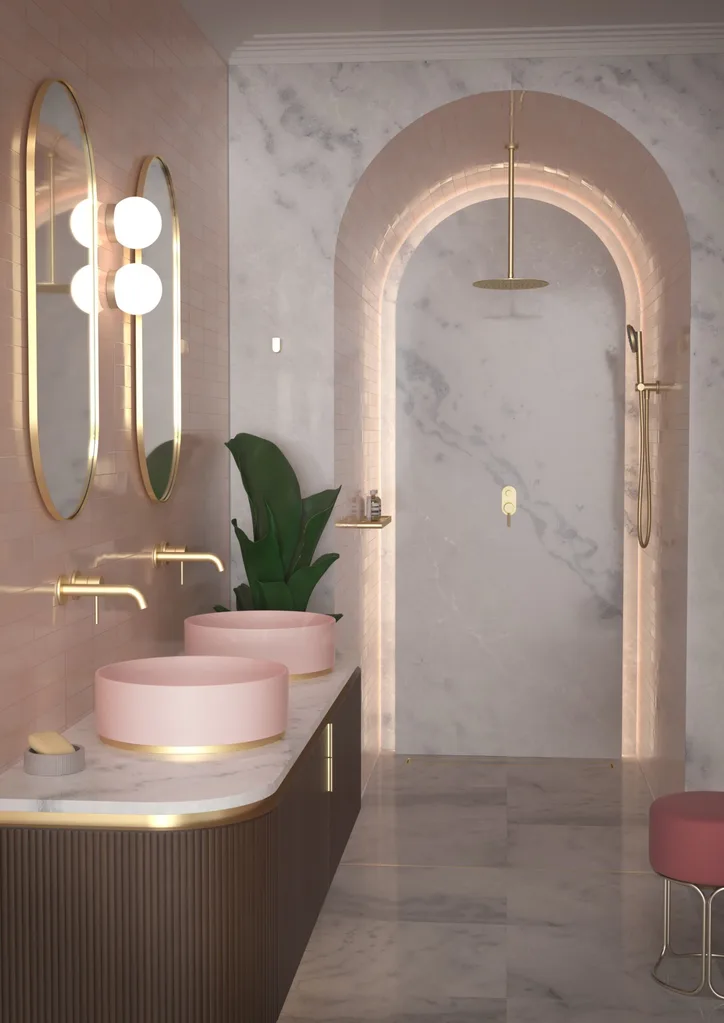
Senior Industrial Designer for Caroma, Luke Di Michael, suggests a dedicated “wet zone” at one end of the bathroom. “As a guide, allow at least one and a half to two metres of splash distance, and use ceiling-mounted rain shower heads to minimise lateral spray.”
A case for the shower screen
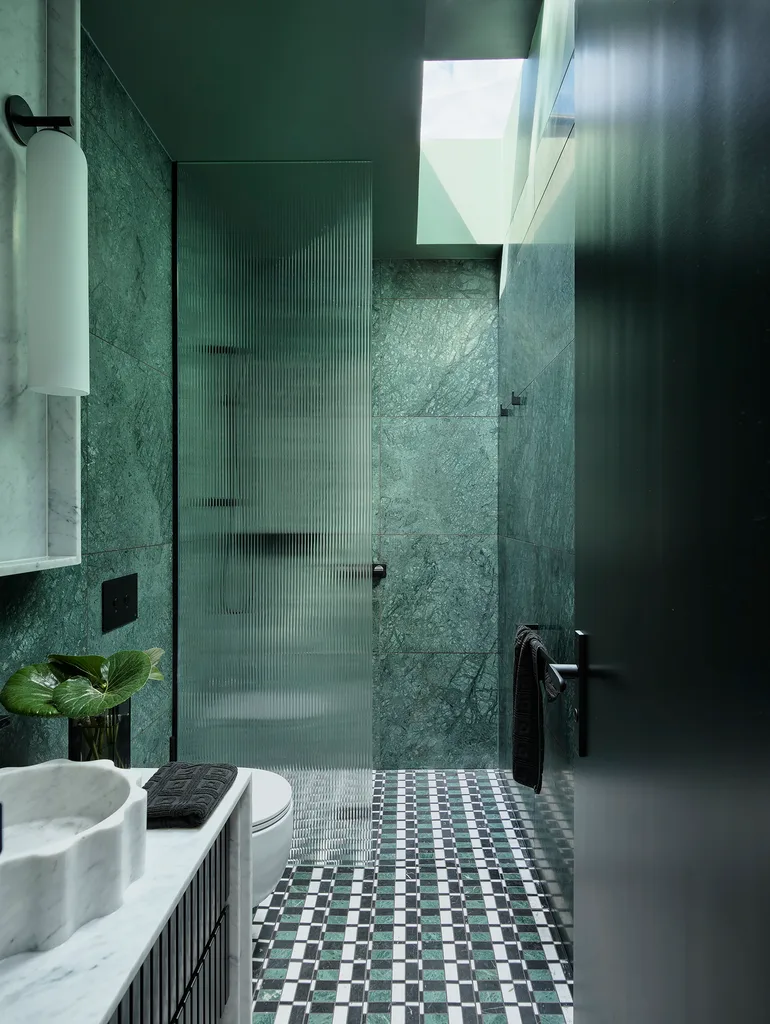
While open shower zones and no shower doors are increasing in popularity, fully enclosed showers allow flexibility in the room layout and keep water well contained. Plus, they retain heat. The door is all important.
“For compact or awkward spaces, hinged doors often provide greater versatility,” says Alexandra.
Minimum Clearances
Bathroom clearances ensure safe movement, accessibility, and comfortable daily use. Essential measurements include a minimum 600 mm clear space in front of toilets and vanities, 450 mm from toilet centerlines to side walls, and a 900 mm × 900 mm minimum internal shower size.
Toilet Clearances:
Front Clearance: Minimum of 600 mm (though 750 mm to 1200 mm is highly recommended) between the toilet rim and any obstruction.
Side Clearance: Minimum of 200 mm to 250 mm from the center of the toilet to any adjacent wall or fixture (total width should be 800 mm to 900 mm).
Doorway/Circulation: If applicable, 1200 mm of clear circulation space must be maintained in front of the toilet, clear of any door swings.
Vanity & Sink Clearances
Front Clearance: At least 600 mm to 700 mm of clear floor space in front of the vanity for easy access.
Walkway Width: For premium functionality (passing someone else), a walkway width of 1000 mm to 1200 mm is recommended.
Bench Space: Aim for at least 500 mm of usable bench space surrounding your basin.
Showers & Baths
Shower Size: The absolute minimum interior shower floor area is 900 mm × 900 mm.
Bath Clearance: Allow at least 1000 mm of clearance along the primary entry/exit side of the bathtub. For freestanding tubs, maintain 100 mm to 150 mm from the walls for cleaning access.
General Layout
Door Clearance: Ensure no swinging door hits any of the bathroom fixtures (leave at least 50 mm to 100 mm clearance).
Power Outlets: Must be kept at least 500 mm to 600 mm away from wet zones like sinks and showers.
Ventilation
Studio Aem’s Alexandra Mason, urges first-time renovators to not dismiss ventilation as an important part of a bathroom renovation. Functionality forms the foundation of every bathroom design.
“Proper ventilation prevents moisture build-up, protects finishes, and keeps the space fresh.”
Lighting
Interior designer Anna Maria Stillone has one tip: “Spend time thinking about the space.” And this is about the all-important lighting. “The smallest change in proportion can make the biggest difference when dealing with a small space.
Think: wall sconces on either side of a mirror. Front-facing, and never directly above on the ceiling where the mirror is concerned.
Going Over Budget
Setting a budget is an important first step before you begin your bathroom renovations. What’s even more important is sticking to it. “You need to know your boundaries, along with knowing what you really want to achieve with your renovation,” says Josh Mammoliti, Managing Director, The Blue Space. Failing to do this could mean not being able to fully enjoy your new bathroom because of how much it ended up costing.
Always add a strict 15-20% contingency budget for structural/plumbing surprises behind old walls.
Hidden costs may be hiding within asbestos removal, re-routing old pipes etc.
Attempting DIY
Sure, you can teach yourself just about anything on YouTube these days, but that doesn’t mean you should put your new skills into practice. Josh says, “The attractiveness of a DIY price tag and potential satisfaction of doing a job ourselves can sometimes over run our abilities.” Doing so could end up costing you more in the long run. “Keep in mind that often when attempting to do a specialist trade job yourself, you will end up spending more in the end because getting the specialists to fix up mistakes comes with a high cost,” says Josh.
It is also important to know what can and can’t be done yourself: If it involves waterproofing, plumbing, gas or electricity, it generally must be done by a licensed professional. Cosmetic work is usually fair game for DIYers.
| DIY-friendly | Leave to the pros |
| Painting | Waterproofing |
| Demolition | Plumbing |
| Towel rails & hooks | Electrical work |
| Mirrors | Gas fitting |
| Flat-pack cabinetry | Underfloor heating |
| Styling | Shower and toilet connections |
Design flaws
Mismatched bathrooms
Just because something looks like it works on Pinterest and Instagram doesn’t mean it will translate in your bathroom. If you aren’t sure, get a professional, or a second opinion.
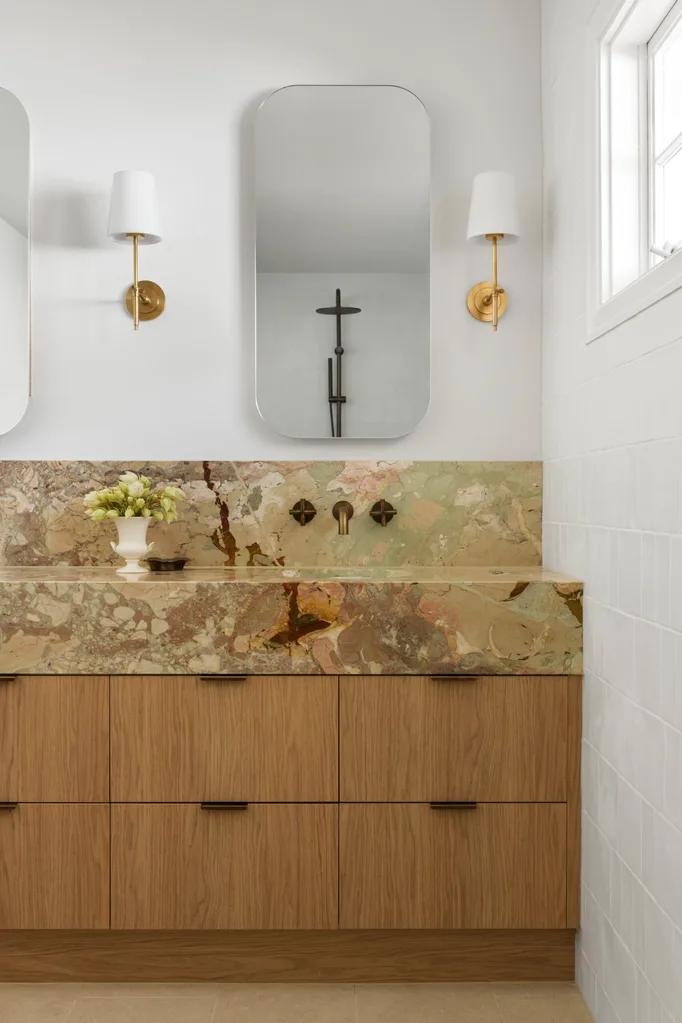
You could use the 60-30-10 rule to create a cohesive bathroom.
Many first-time renovators fall into the trap of choosing finishes they love individually, only to discover they don’t work together once installed. The result can be a bathroom that feels visually cluttered or lacking in cohesion
Interior designers often rely on this rule to create balance within a space:
- 60%: Your dominant finish or colour, such as wall tiles, floor tiles or paint.
- 30%: A secondary colour or material, such as cabinetry, a vanity finish or feature tiling.
- 10%: Accent details, including tapware, lighting, mirrors and accessories.
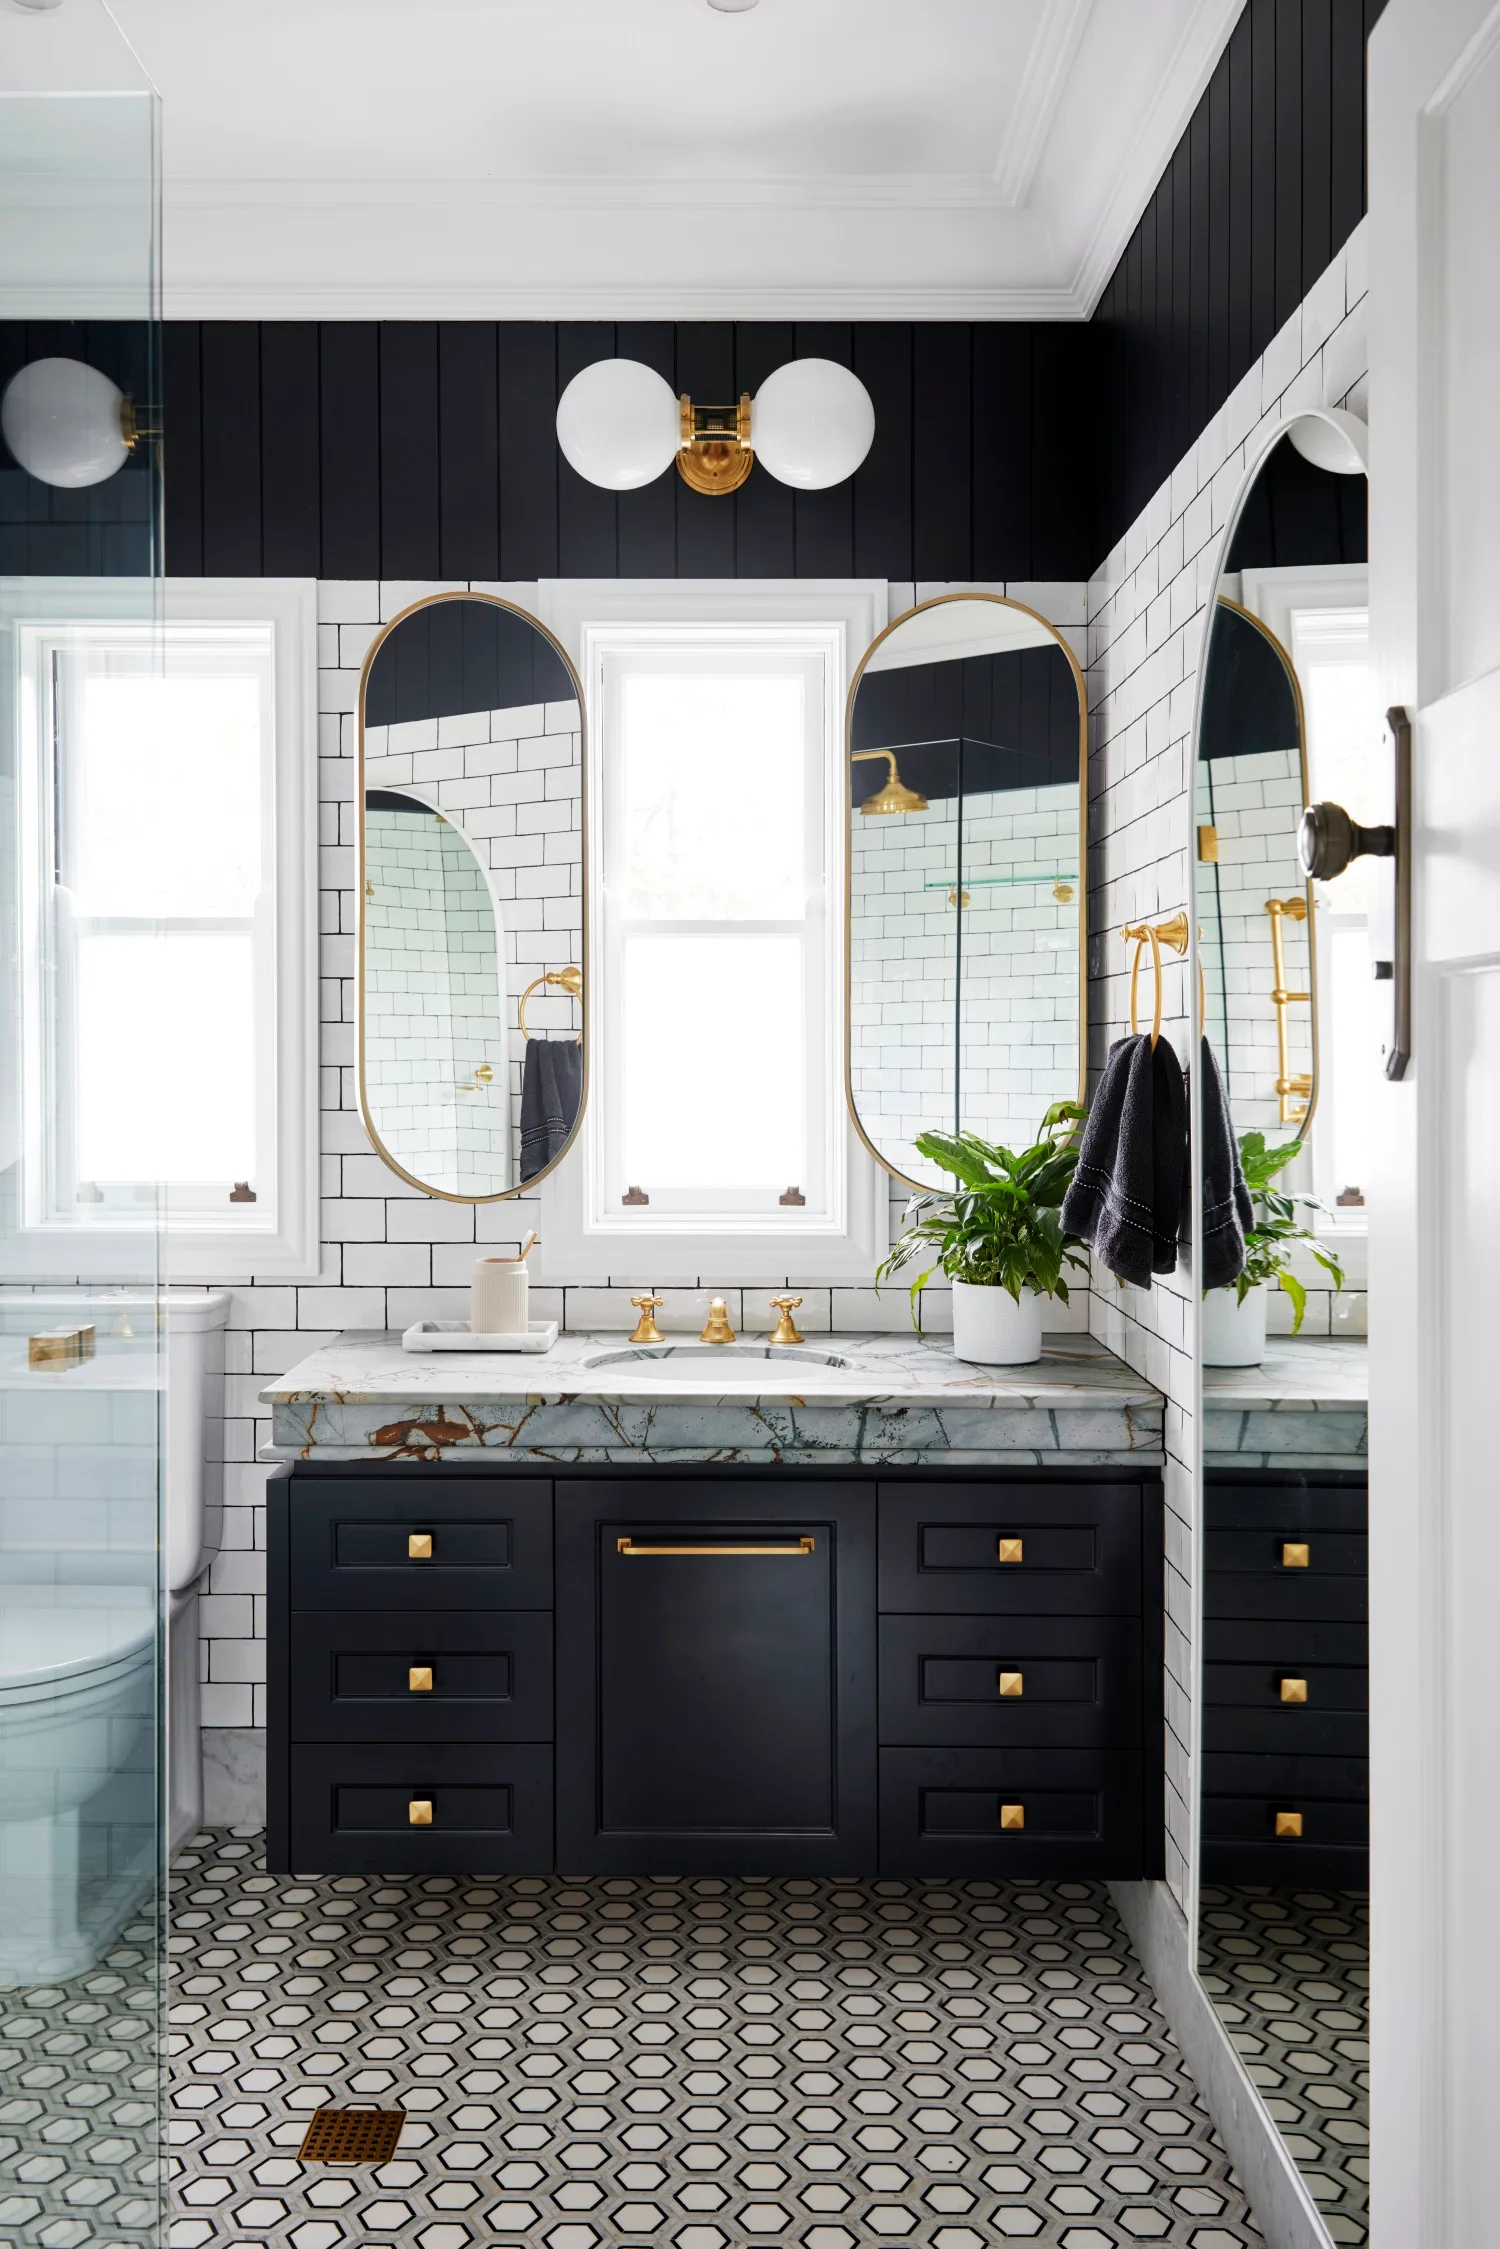
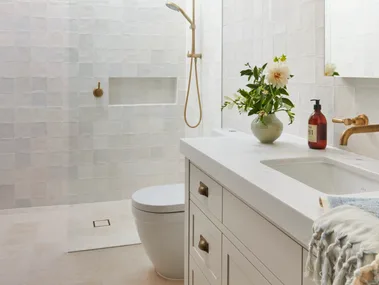
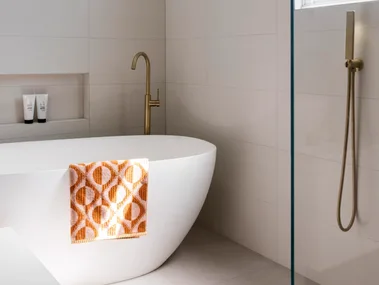
For example, a bathroom might feature white wall tiles as the dominant element (60%), warm oak cabinetry as the secondary feature (30%), and brushed brass tapware and lighting as accents (10%).
By limiting your palette before shopping, you’ll be less likely to make impulse purchases that don’t complement the overall design.
Important note: The mistake most first-timers make with the 60-30-10 rule is counting their floor and wall tiles as separate blocks, which accidentally splits their dominant colour and creates visual chaos. Instead, treat your main wall tile as your 60% dominant base, and let your floor tile or vanity serve as the 30% grounding element.
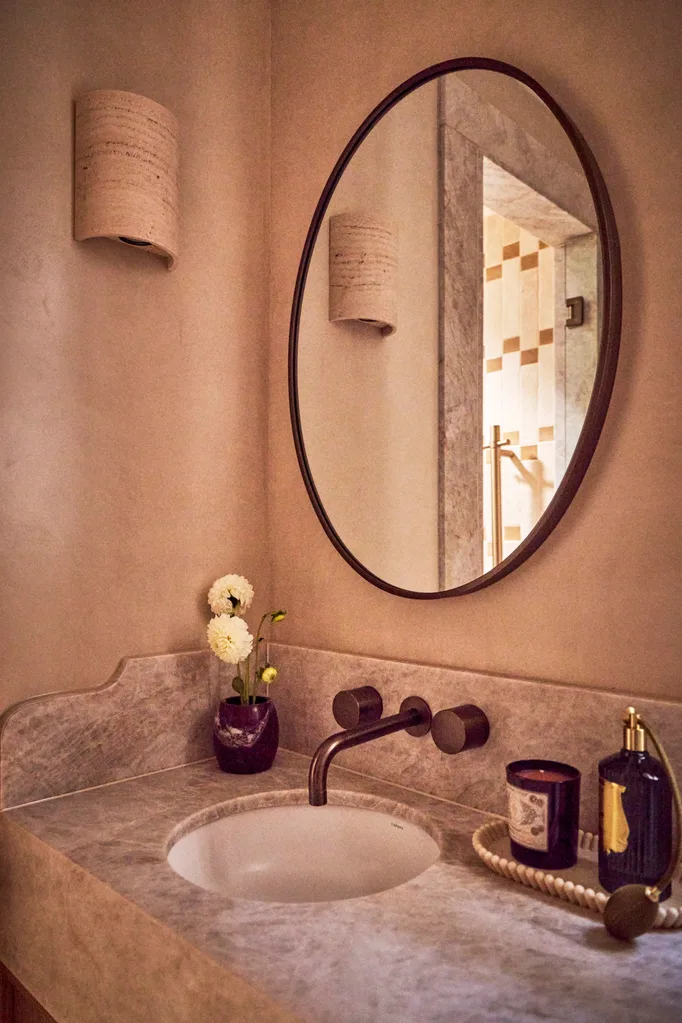
Choose one tapware finish and stick to it
Another common mistake is mixing too many metallic finishes. While combining metals can work in experienced hands, it can easily make a bathroom feel disjointed.
As a general rule:
- Match your basin mixer, shower fittings and bath spout in the same finish.
- Keep accessories such as towel rails, toilet roll holders and robe hooks consistent with your tapware.
- If introducing a second metal, limit it to decorative elements such as lighting or mirror frames.
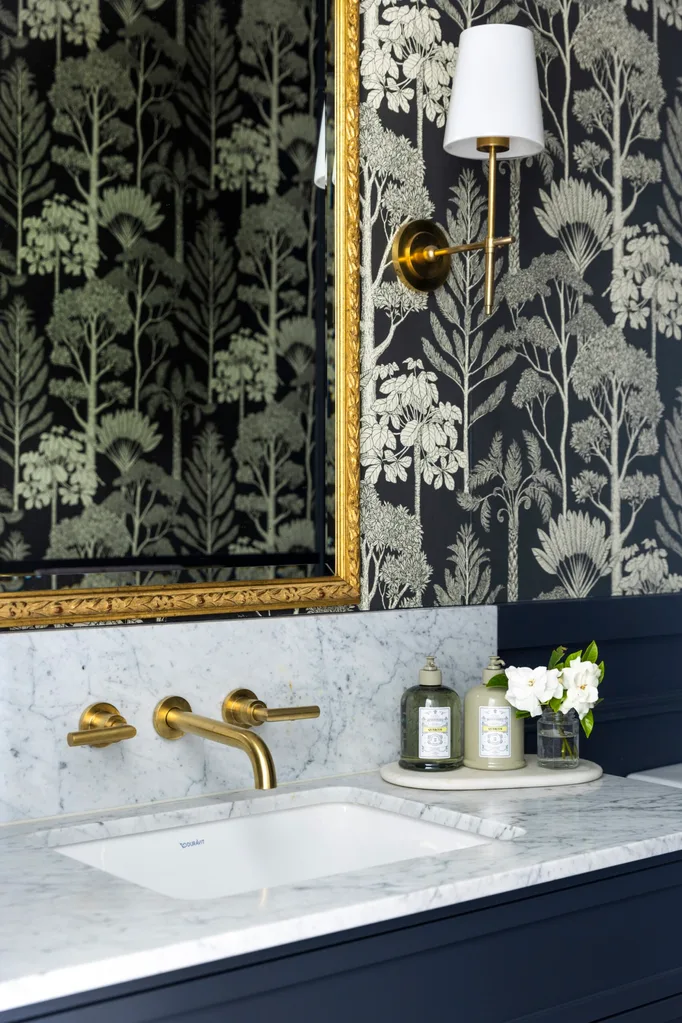
Popular combinations include:
- Brushed brass with warm timber tones
- Matte black with crisp white finishes
- Brushed nickel with natural stone
- Chrome with contemporary minimalist schemes
Before purchasing anything, create a simple mood board featuring your tiles, vanity finish, benchtop and tapware. Seeing all materials together can help identify clashes before they become expensive mistakes.

Having unrealistic expectations
Renovating a bathroom involves hiring lots of different tradespeople, so at the very least allow for delays. “It’s good to have your expectations at the right level when it comes to renovations,” says Josh. “Remember The Block isn’t real life; there are so many trades in the process, so lining up trades perfectly will always be a problem.”
Remember: television editing cuts out the 72 hours of waterproofing curing time and the bureaucratic nightmare of council plumbing approvals. Real renovations move at the speed of local compliance, not primetime television.
“Make sure you choose colours and tones that are timeless, not jarring. If you get stuck, look at bathroom packages available for inspiration.”
JOSH MAMMOLTI, THE BLUE SPACE
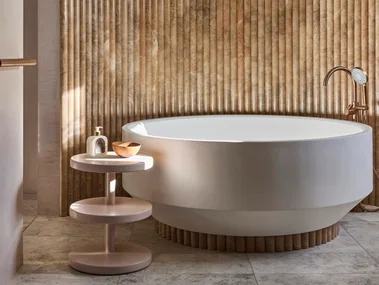
Non-regrets
There are small luxuries that can be added to bathrooms that designers push as a massive non-regret. If it can be achieved, do it! For most, this is underfloor heating.
Neale Whitaker once said you should make one change to your home. A former judge on The Block, and now on My Reno Rules, Neale knows a thing or two about home renovations.
“The one thing that I can’t believe I left so late in life to do, that has made a huge difference, is putting underfloor heating in our bathrooms,” he shared on The Edit podcast. Neale took the plunge into underfloor heating while renovating his previous home in Berry, and was surprised at its affordability. “I always imagined it would be a very expensive thing to do, and of course it’s actually not. Not if you’re already renovating your bathroom,” he continued. “But my goodness, it’s wonderful. It’s life changing in the colder months.”
The benefits of underfloor heating go beyond simply having a warm bathroom in winter. It can also help to reduce mould and even cut electrical costs. Underfloor heating can also offer improved air quality when compared with some other forms of indoor heating, which is a boon for allergy sufferers.
Alexandra Mason agrees. “Underfloor heating is an item that I would recommend. Not only does it create a warm, ambient space, it also helps to keep floors dry as well.” This practical purpose is often overlooked by those who view underfloor heating as a luxury.
Types of underfloor heating
- In-slab heating: These are built into the concrete slabs of your home’s foundation. These are easier to install in new builds, as opposed to renovations. Slab heating can be hydronic or electric, but hydronic (a water-based heating system) is more common.
- In-screed heating: The screed is a thinner layer of concrete poured over the slab. This is the better choice for renovators, and is most likely to be electric as opposed to hydronic. (But can be either!) Underfloor screed heating warms up quicker and is more popular in Australia than slab heating.
- Under-tile or carpet heating: In this type, the heating system is built into a mat laid beneath your floor. Think of it like an electric blanket beneath your tiles or carpets. Along with in-screed heating, underfloor heating mats are a popular, affordable option for Australian renovators.
ServiceTasker says underfloor heating in Australia costs between $40 and $120 per square metre. Meanwhile, online trades directory Hipages, offers this cost breakdown for the different types of underfloor heating: - In-slab hydronic: From $65 per sqm
- In-slab electric: From $40 per sqm
- In-screed hydronic: From $105 per sqm
- In-screed electric: From $115 per sqm
- Under-tile or under-carpet: From $70 per sqm
Smaller installations are likely to increase the cost per square metre. The average size of a bathroom in Australia is 6 square metres. If we use a more costly estimate of $120 per square-metre, it still only costs a total of $720 to do the whole bathroom.
You can see our full breakdown of underfloor heating here.

Shop the looks…
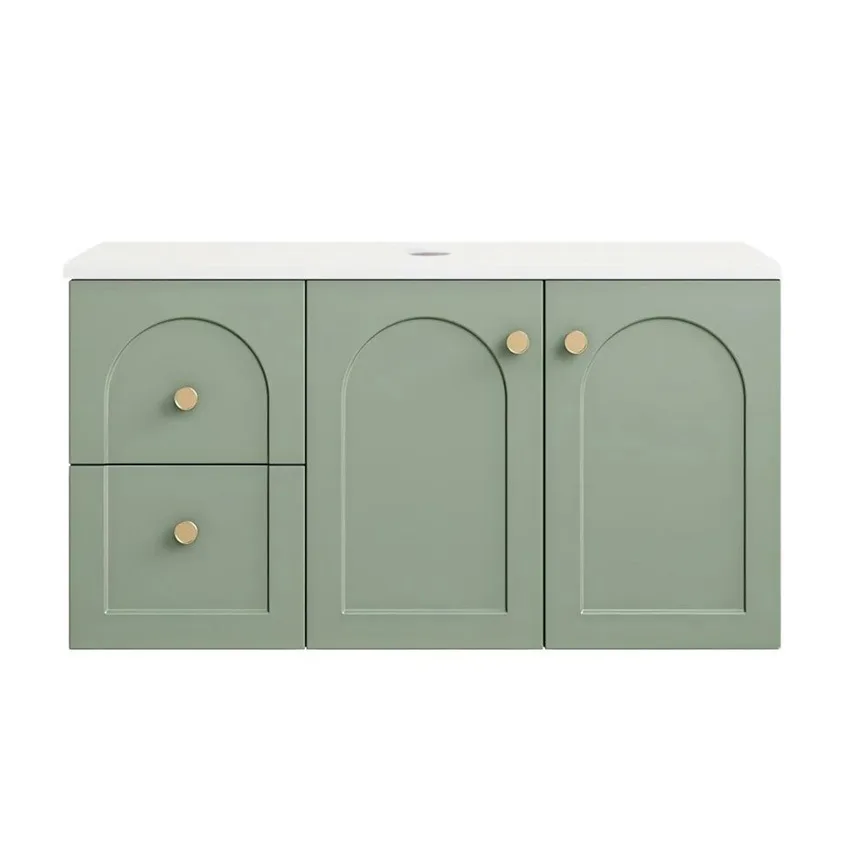
Stevie Wall Hung Single Vanity with Stone Countertop,
$1,459, Temple & Webster
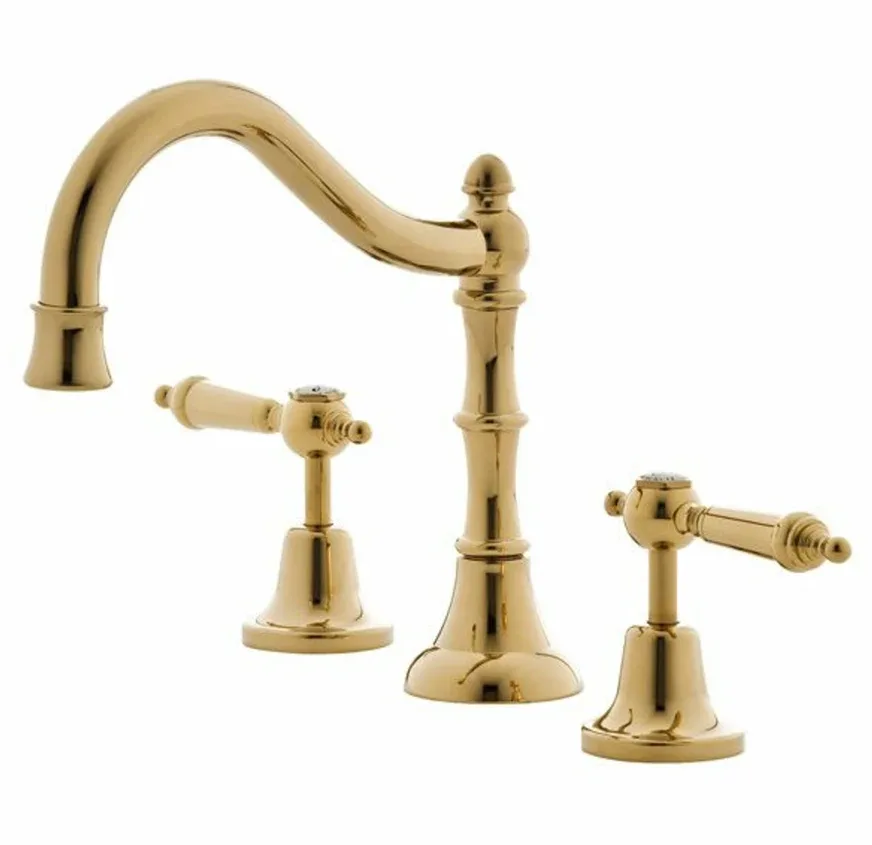
Rochelle Lever Basin Set PVD,$529 $369, Early Settler
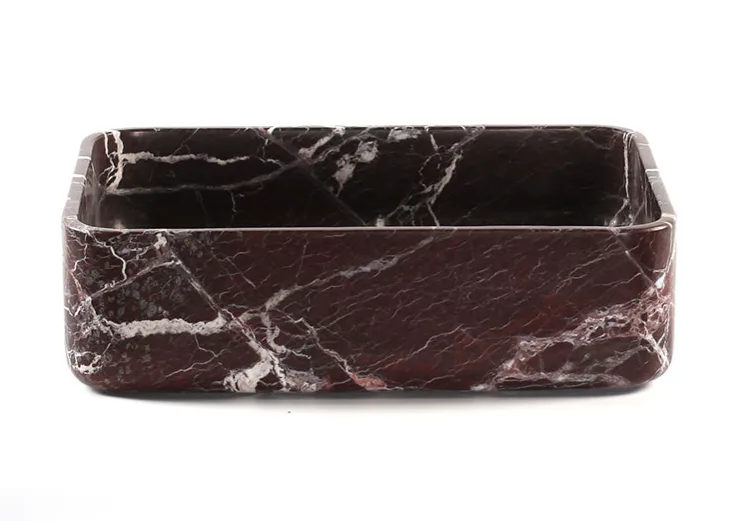
Rosso Levanto Marble Rectangular Honed Basin, $1,560.00 $890, Marble Hub
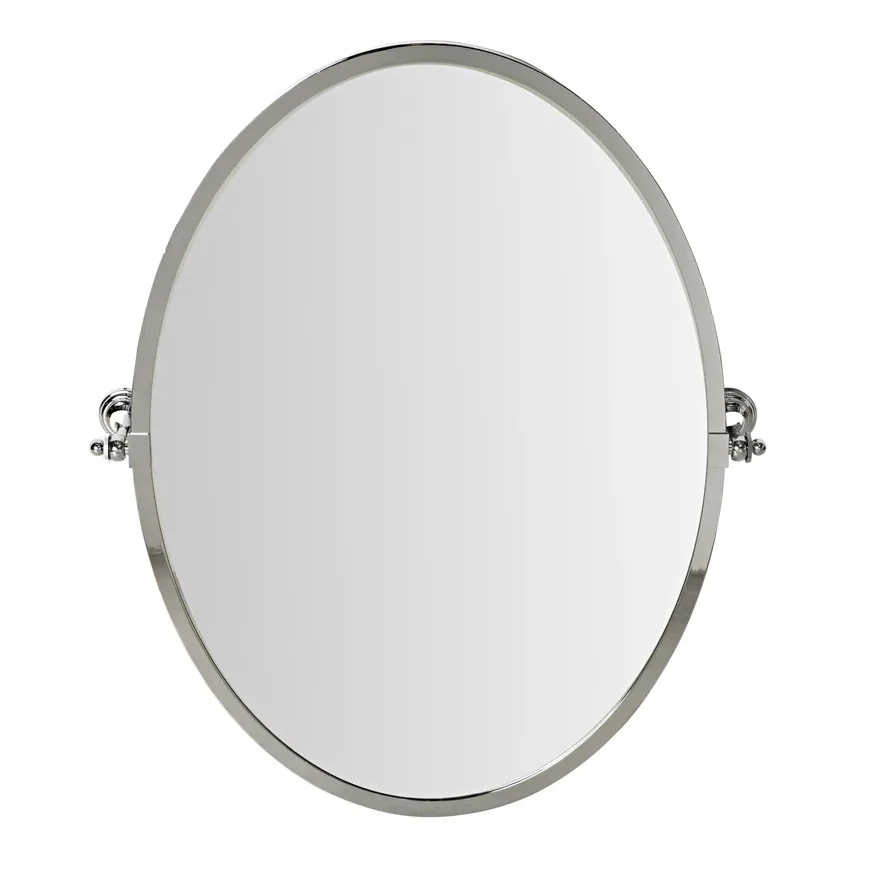
Hayden Oval Pivot Mirror Chrome,$419 $249, Early Settlers
Related stories
Native ad body.
Native ad body.

Three tapware trends you’ll be seeing in 2026
Native ad body.