 Photography: Emily Murray
Weekends are the time to put into action all of the ideas you have in the shower on weekday mornings. In our Weekend, Sorted series, we’re channelling our inner interior designer to bring you achievable weekend projects that put a pep in your step and a glow in the hearts of you and yours. From the whimsical to the wild, we’re highlighting the big changes we can make to small corners of our homes – in just one weekend.
If we had a dollar for every time we’ve heard someone say, “Paint is the most affordable way to transform a space,” we’d have way more money for weekend painting projects. Ask anyone who has put ideas into action and painted a room in a different colour – they’ll tell you it’s worth the effort.
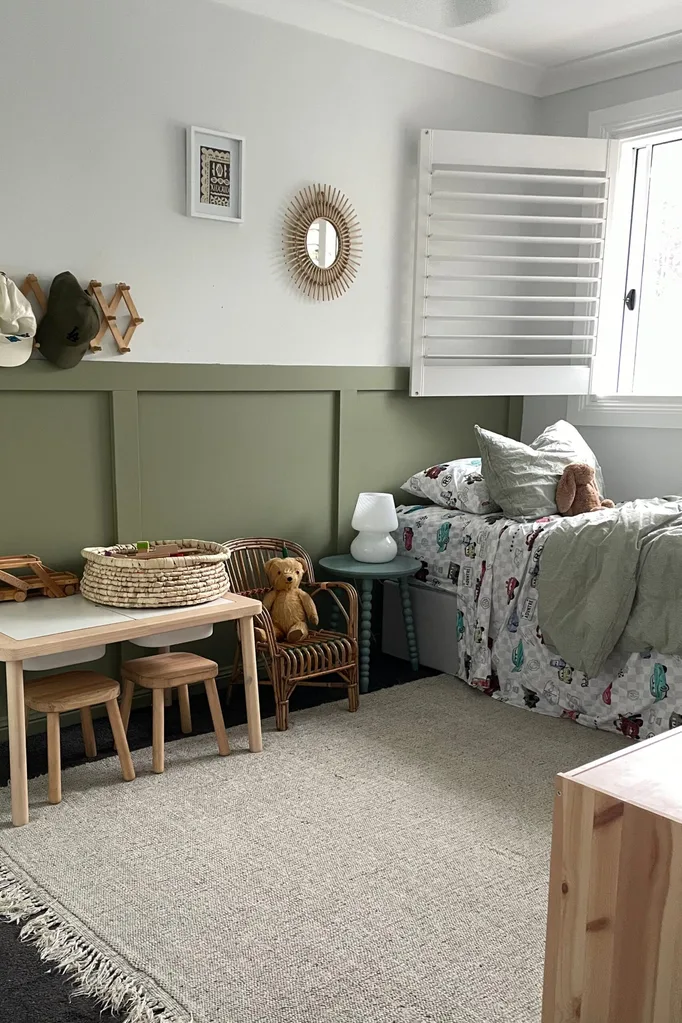
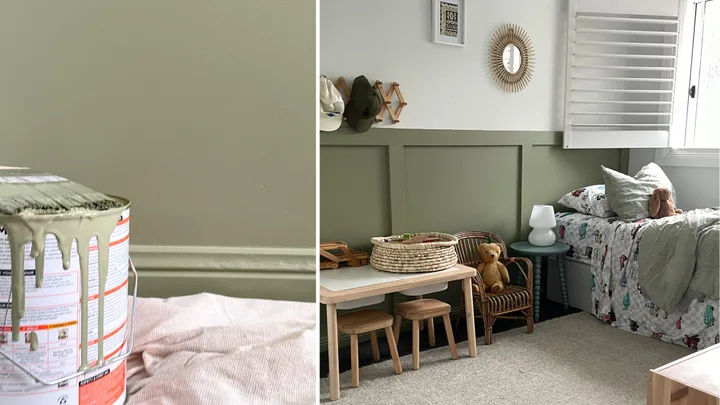
Case in point is HB social media producer Emily, who has been ruminating on a little project for some time now to inject rich colour into her son’s bedroom. On a weekend earlier this month, Emily rolled up her sleeves and took the plunge to install a simple wainscoting detail along the main wall and imbue her little one’s sanctuary with a considered colour that boosts the mood, stimulates notions of nature and provoked an entire makeover. Here’s how the project unfolded.
Step 1: Preparation and layout
- Wipe down the wall with a wet cloth to clean the surface
- Use a microfiber cloth to remove any dust
- Measure and mark the wall to create 3 evenly spaced sections for panelling
Step 2: Installing the wall panelling
- Cut primed treated pine trim (92 x 18mm) to required lengths
- Attach the trim to the wall using timber silicone and a nail gun
- Fill gaps between the trim and wall with No More Gaps for a smooth finish
- Leave the filler to dry overnight
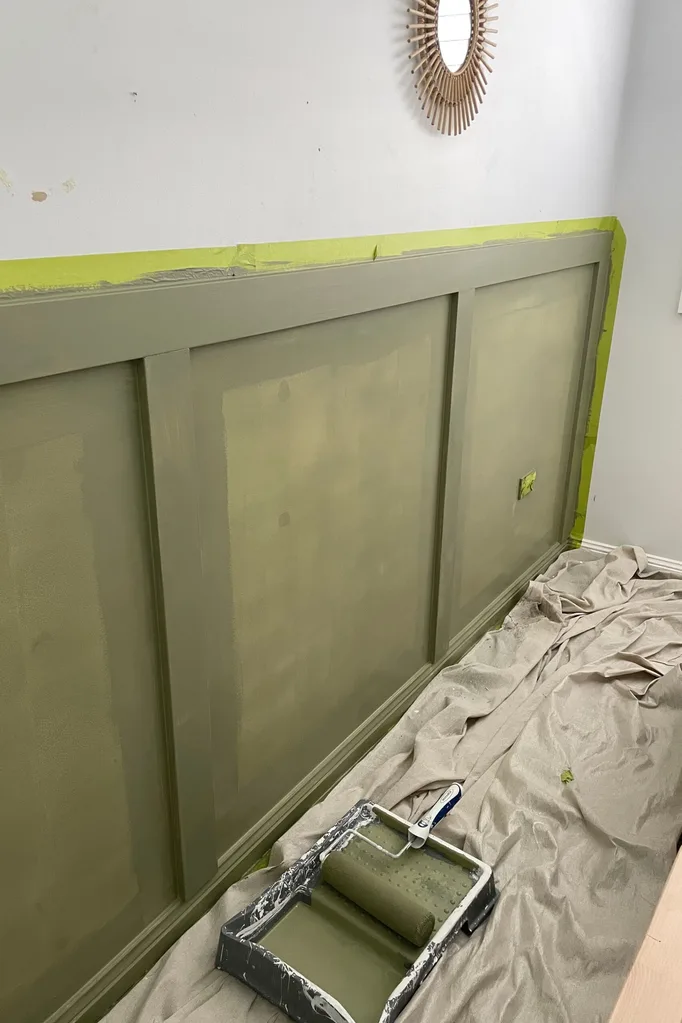
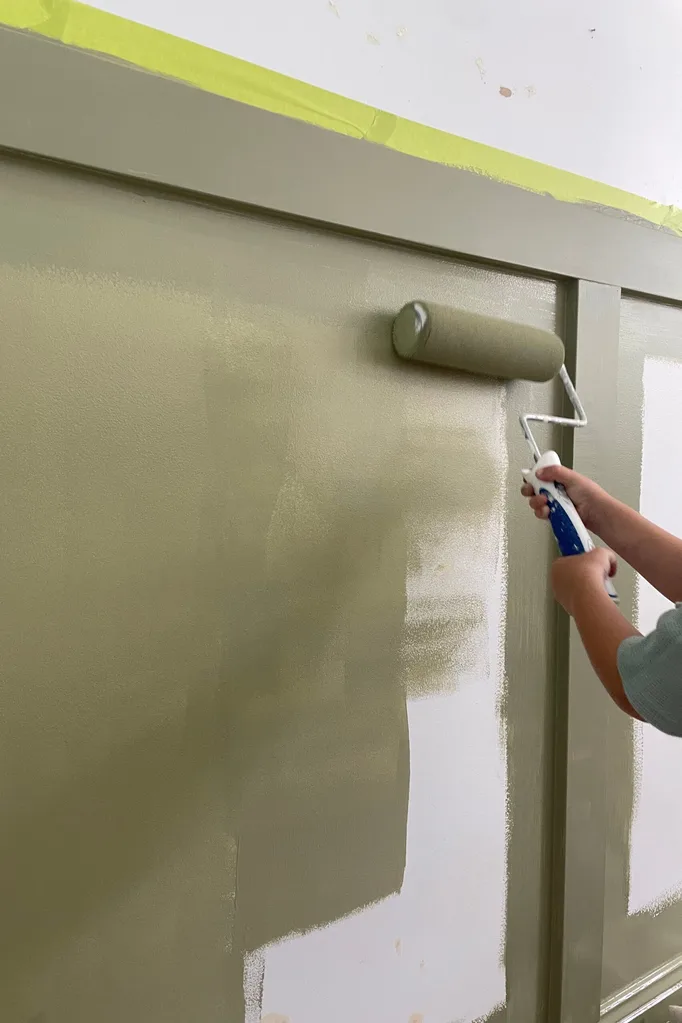
Step 3: Painting
- Apply painter’s tape around the timber panelling to protect adjacent wall areas
- Emily used paint colour: ‘Olive Leaf’ by Dulux
- Use a roller for large areas and a renovator brush for edges and skirting
- Apply 3 coats of paint for an even, rich finish
Emily’s hot tip:
Pre-select 3 parent-approved colours and let your child pick the final one!
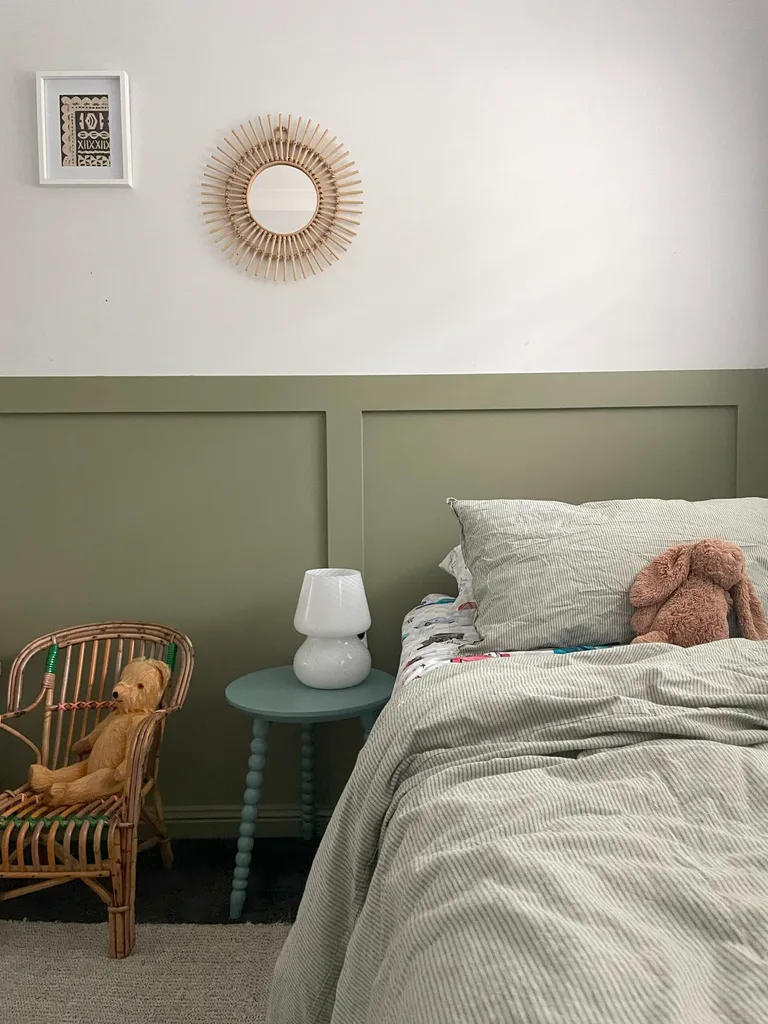
Step 4: Finishing Touches
- Rearrange key pieces of furniture to refresh the room layout and showcase new colour detailing on the walls
- Project completed in one weekend!
“Thank you Mummy – I love my bedroom so much!
(Said on repeat for days by a very happy little boy)