 Cooks Co-op
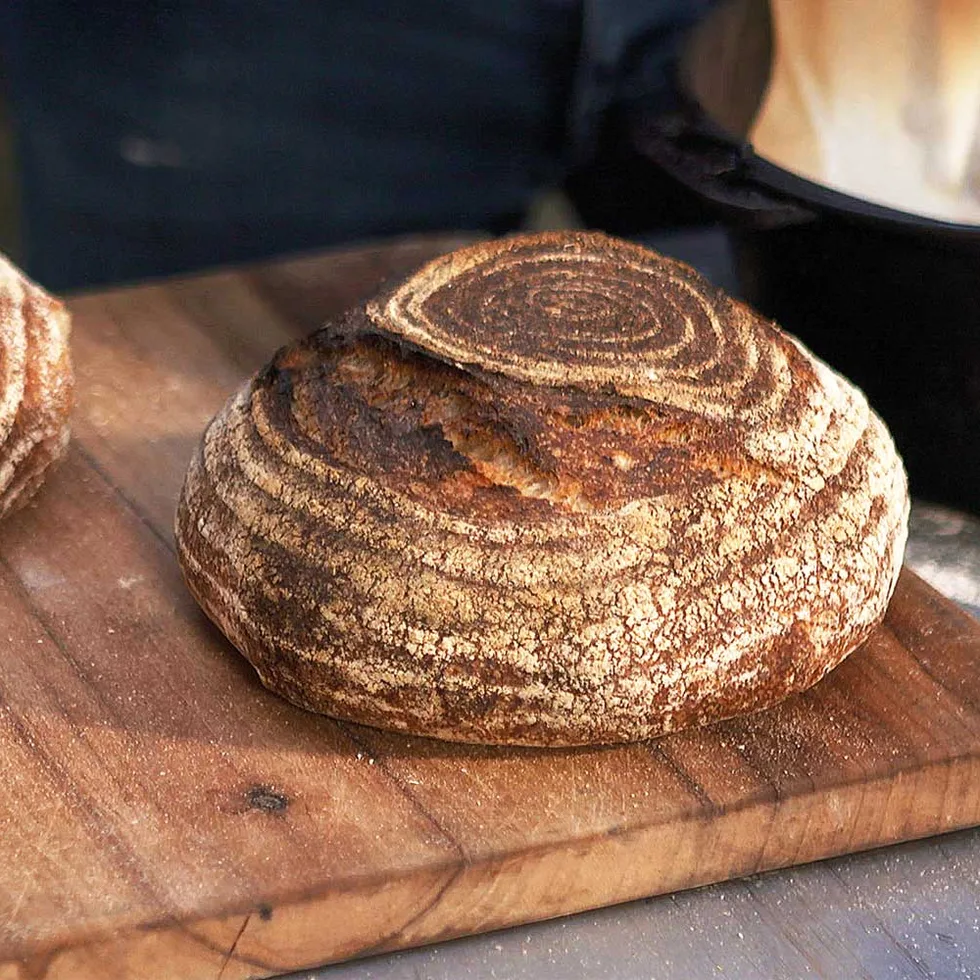
Baking sourdough from scratch has become a hobby for novice and expert home cooks alike. While the wholesome past time reached fever pitch during the COVID pandemic, many aspirant bakers – including Taylor Swift and Home Beautiful‘s own Elle Lovelock – continue their quest for the perfect home-made loaf of bread.
Elle recently shared her baking “journey” on The Edit podcast. Speaking with MasterChef Australia contestant Karlie Verkerk, the two bonded over outdoor cooking and hobby baking.
Listen on The Edit podcast:
If you’ve always wanted to forgo the breadmaker, and try your hand at wood-fired sourdough, this recipe is going to show you how. And if you don’t have a wood-fired oven, it shows you how to replicate the flavour in your regular kitchen oven.
Drawn from our Cooks Co-op series with chef Martin Boetz, we tapped artisan baker Lynne Trappel from Bowen Mountain Bread to show us what to do.
“Sourdough relates to how the wild yeasts and bacteria eat their way through the gluten in the flour, and they make bubbles as they do this,” Lynne shared of the sourdough baking process. “Then, at a critical point, we bake it and it rises naturally.”
The key to this process? The starter.
Tips to make your starter
The mother or bread starter kicks off the fermentation process in sourdough making. This recipe assumes you already have one at the ready. (Lynne used an 11-year-old mother!) However, if you don’t have one, here are some tips we can share, courtesy of Home Beautiful Editor and avid sourdough baker, Elle Lovelock.
“My first starter was a non-starter,” Elle confesses. However, after one failed attempt, she nailed it on the second go.
- Buy a kit: While experts may be able to make their starter from scratch, Elle purchased a sourdough starter kit online to guide her through the process.
- If your starter can float, you can bake: One of our incredible readers sent Elle this tip. If you’re not sure if your starter is ready, try popping a bit in water and seeing if it floats. If it does, you’re ready.
- Mind your flour: You’ll read a lot about the importance of using “unbleached” flour. This is true, but if you’re in Australia, rest assured the vast majority of our regular, supermarket flours are unbleached.
- The best jar for your sourdough starter: Is an 800ml Weck Jar, according to Elle. “It weighs 400g empty so you always know what your starting point is. And the lid is loose-fitting so it keeps the starter fresh while still letting carbon dioxide escape.”
- You can store your starter in the fridge: “I keep my established starter in the fridge and use it once per week,” Elle shares. “I take it out the morning before I make dough to bring it to room temperature, then feed it that night so it’s nice and bubbly the following morning ready to make dough.”
A starter takes 5-7 days before ready, but the longer you leave it, the better it tastes!
How to make ‘wood-fired’ sourdough in a regular oven
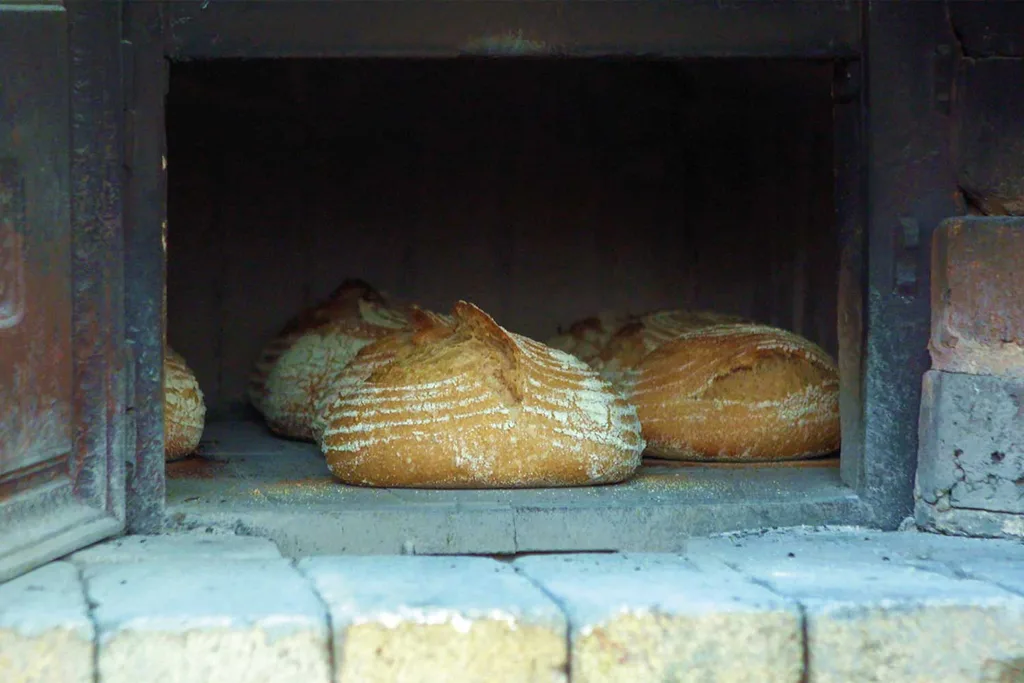
For this recipe, Lynne used her trusty outdoor wood-fire oven. However, you can replicate the process in your humble kitchen oven by using a cast-iron casserole dish in the cooking process. Although the taste won’t be exactly the same, it is still delicious and fairly comparable! Plus, it’s easy for anyone to do at home.
In our recipe, we’ve included the alternate steps to get this right. In truth, however, there’s really only one major difference: Instead of placing your raw sourdough into a wood-fired oven — you’ll place into a lined casserole dish, and into your oven!
If you watch the recipe video, you’ll be able to see the differences in the final results.
What you’ll need:
In addition to the ingredients listed below, you’ll need the following for this recipe:
- Large mixing bowl
- Kitchen scales
- A clear, hard surface. You may choose to work directly onto your kitchen benchtop)
- 3 x proving bowls (22-23cm in size for an 800g loaf) or one large plastic container. Some experienced bakers, like Lynne, may use traditional banneton baskets. But, really, any large bowl will do, including your mixing bowl.
- If baking in a regular oven, you’ll need a 4-5L cast iron casserole pot or dutch oven. A cast iron pot replicates the environment of a wood fired oven.
WATCH: How to make this sourdough recipe
How to make sourdough at home
Ingredients
Method
Put 150g of sourdough starter into your mixing bowl.
Add the water, followed by the white and wholemeal flours.
Mix ingredients together with your hands, stirring, kneading and folding with your fingers into a cohesive dough. When the dough is well-mixed, cover the bowl with a damp tea towel and leave sit for 30 minutes.
Scatter some flour over your clean work surface. Remove the dough from the bowl and place on the floured surface. Slightly stretch and knead, folding it over on itself before returning to the bowl. Repeat this every 30 minutes for two hours.
On a surface dusted with flour, separate your dough into 800g sections. (Use dusted kitchen scales to achieve the right weight.) Using your hands, form the dough into neat ball shapes. You should have 2-3 balls. (One may be smaller.)
Turn the balls upside-down and place them in dusted proving bowls. Generously dust more flour over the top to prevent sticking.
Cover and place in fridge for up to 12 hours. (Eight hours minimum.)
If using a wood-fired oven, prepare your oven until it’s ready to begin baking.
If using a regular kitchen oven, preheat to 250°C.
If using a wood-fired oven, place dough on a flour-dusted surface by turning upside down to remove from proving dish.
If cooking in a regular kitchen oven, place in your a casserole dish lined with baking paper.
Slash the top of your loaf with a razor or sharp knife to allow air to escape when cooking.
Place in oven.
Bake at 250°C for 20 minutes.
Check if ready by tapping the bottom of your loaf. It should have a hollow sound and a good hard-crust texture.

Related stories
Native ad body.
Native ad body.



Native ad body.